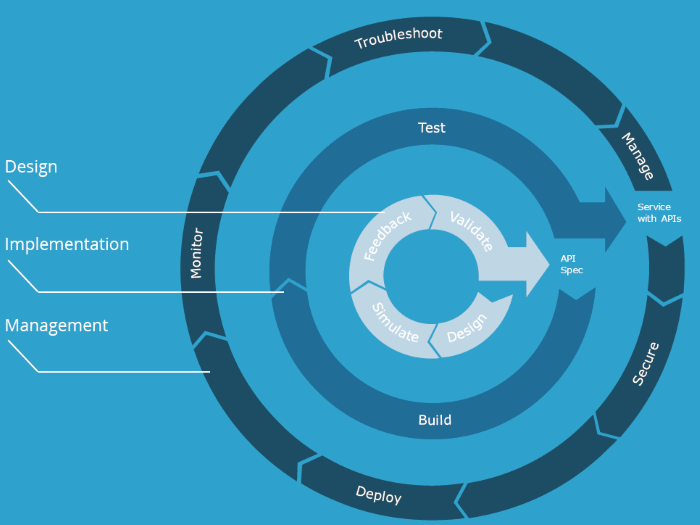
Mulesoft offers an IPaaS platform in which you can design, document, implement, test, deploy, manage and consume API’s. In the next couple of blogs I will demonstrate how you can design a simple API using RAML, document and publish the API in Exchange. Then implement and deploy it and finally manage and monitor it.
Lets get started.
Prerequisite
In the next set of blogs we will need a couple of things to get them done:
- An Anypoint account. This can be a trail. You can register freely for one here here
- Download Anypoint studio here.
- JDK1.8 which is needed here
Once you got all of these registered, downloaded and installed, we can continue. In this part, we won’t be using the Anypoint studio. That will come in part 2, when we are going to implement the API.
Design Center
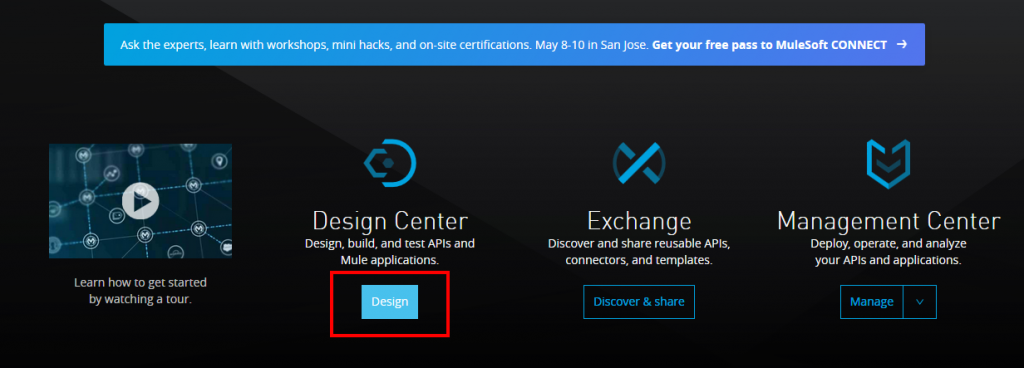
In the first part we are going to design a simple API using RAML. First login on the Anypoint Platform. On the start page you see the 3 options to choose from. Design Center, Exchange en Management Center. Choose Design Center.
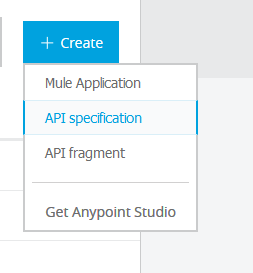
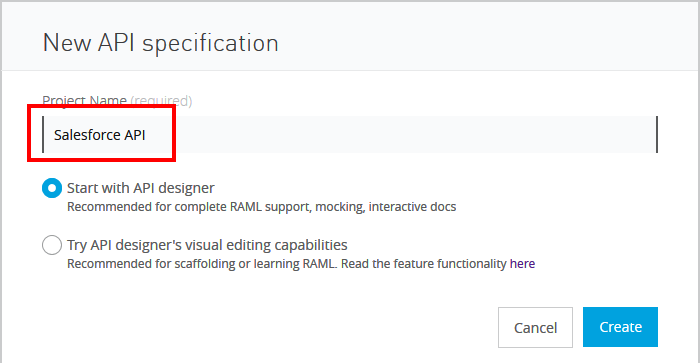
Now click Create, give the API a name.
Mine is going to be Salesforce API. It will be a simple example of a RAML specification with which you can get a list of customers from Salesforce, add a customer and get a specific customer.
The Designer layout is simple. On the left side you see the files. In the middle your RAML editor and on the right a visual overview of the specification. RAML stands for RESTful API Modeling Language (RAML). It is together with Swagger and API blueprint one of the 3 big API specification formats for REST API’s. For details see https://raml.org/.
As I said before, our API must be able to do 3 things:
- Get a list of customers
- Get the details of a specific customer
- Add a customer
List of customers
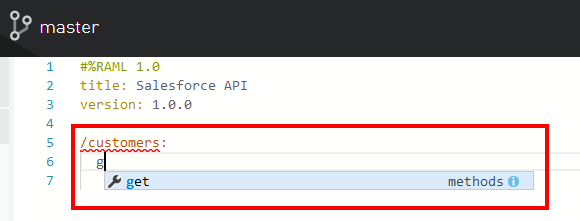
This is going to a GET operation with the path /customers so we start of with /customers: . Notice that the editor is context sensitive so when you tab, it shows the possible input. Kind of like a code completion/suggestion in an IDE.
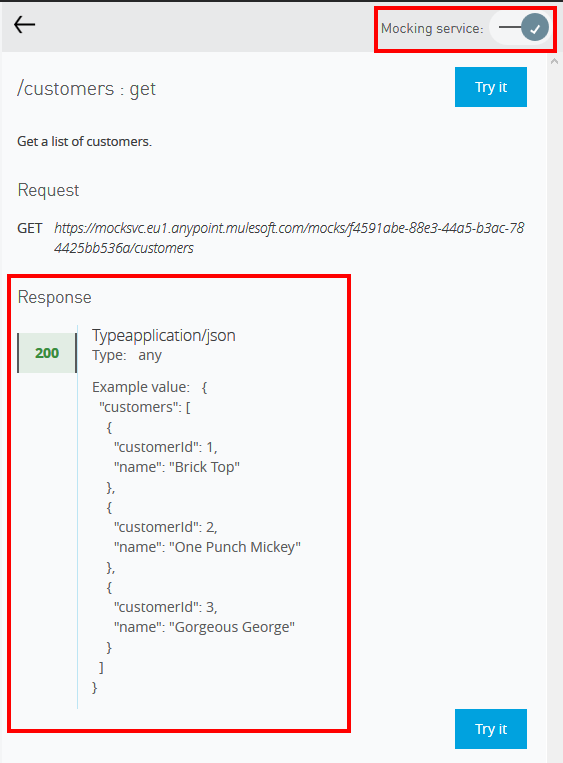
I won’t go fully in detail how a RAML specification is made up as there is good documentation on it. After the GET I add a description, and an example response. After we have done this, you can toggle on the Mocking Service in the top right corner. In the RAML file, a baseUri is set of the mocking service and on the right side you can test the GET and see the example response we specified which is quite nice.
Get customer details
Now lets add some functionality to get a specific customer based on a Id.
/customers/{customerId}:
    get:
      description: Get the customer with `customerId = {customerId}`
      responses:
        200:
          body:
            application/json:
              example: |
                {
                  "customerId": "3",
                  "firstname": "Gorgeous",
                  "lastname": "George",
                  "adres": {
                    "street": "Hameltonlane 4",
                    "city": "Brixton",
                    "country": "UK"
                  }
                }
        404:
          body:
            application/json:
              example: |
                {"message": "Customer not found"}
You can see we also added an error code here. A 404 when the customer wasn’t found. As we will handle the customer object more often we can define it in a snippet or at the top in the types.
types:
  customer:
    properties:
      "customerId": integer
      "firstname": string
      "lastname": string
      "address": address

  address:
    properties:
      "street": string
      "city": string
      "country": string
We can now reference it like:
         body:
            application/json:
              type: customer
Add a customer
One of the last thing we want to do is to add a customer using a POST method. We will put this under the /customers.
  post:
    description: Add a new customer
    responses:
      200:
        body:
          application/json:
            type: message
            example: |
                {
                  "code": "OK",
                  "description": "Customer successfully added"
                }
    body:
      application/json:
        displayName:
        type: customer
        example: |
                {
                  "firstname": "Gorgeous",
                  "lastname": "George",
                  "address": {
                    "street": "Hameltonlane 4",
                    "city": "Brixton",
                    "country": "UK"
                  }
                }
I also made a type message with a code and description. This is a generic type which we can reuse for error messages as wel as you can see:
        404:
          body:
            application/json:
              type: message
              example: |
                {
                  "code": "NOK",
                  "description": "Customer not found"
                }
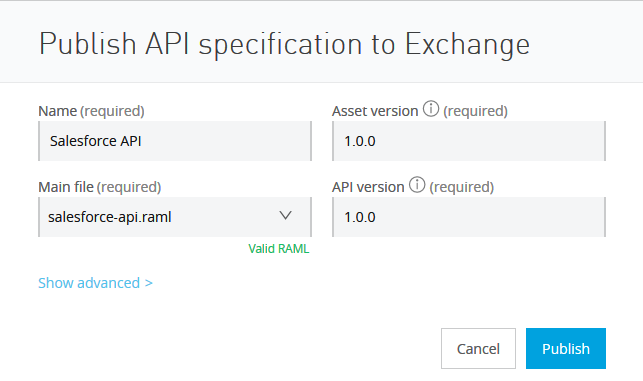
It seems we have defined al operations. The thing to do now, is to publish it to exchange so that we can get feedback from it and start the implementation. We can do this by clicking top top right icon Publish To Exchange.
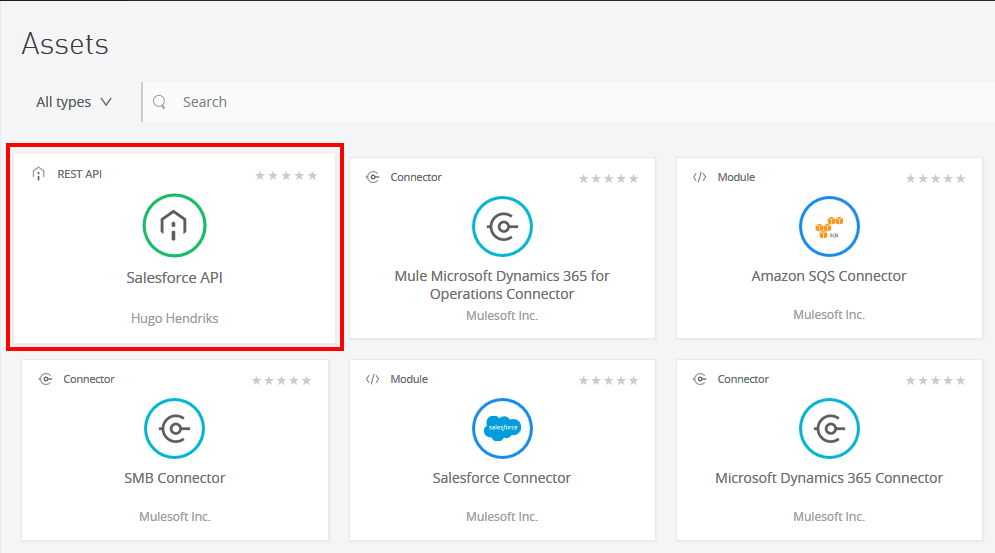
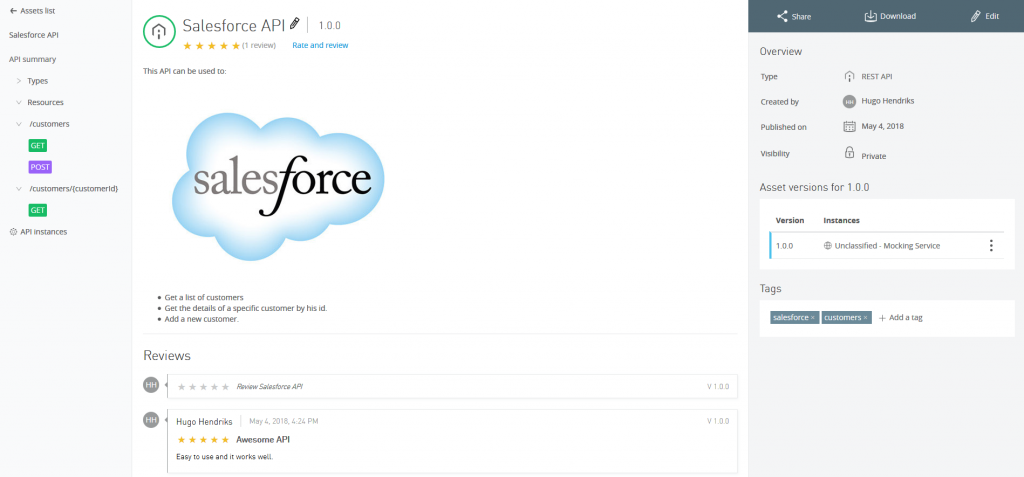
After you have successfully published to Exchange, we can check it out there. Click on the hamburger menu on the left and select Exchange. In Exchange you can see all the available assets. These include Mulesoft assets as well as your own and as you can see, there is our just published Salesforce API.
If you click on the Salesforce REST API you will see the page which you can use to document your API. You can add texts and images. You can see Exchange as an API catalog which you can browse to see if there is an API which you can use for your needs. You can also rate API using comments and star ratings. Let’s click Edit and add some text to it and an image.
There we go. We have just designed and published an API which can be reviewed by potential consumers and they can even test the API by using the mocking service. In the next post I will show how to make and implementation of this API and deploy it to CloudHub.
Reference:



Pingback: managing-a-simple-salesforce-api-using-anypoint-platform
Pingback: Implementing a simple Salesforce API using Anypoint platform.